PLEASE VISIT MY NEW BLOG

Monday, December 22, 2014

Display Your Holiday Cards in Style

What do you get when you find a large, vintage picture frame, chicken wire and a set of alphabet stamps?  Answer:  A great way to display this year's holiday cards!


With so many people sending photo holiday cards, 
how do you display them without their constantly falling down?  
Here's a creative idea using just a few items 
that are probably sitting in your garage just waiting for 
some DIY inspiration.  

All you need is a large picture frame, chicken wire, clothespins, and washi tape.  Paint the frame, attach the chicken wire (you can find a tutorial here), embellish mini clothespins with washi tape, stamp "Happy Holidays" on card stock, and easily create a beautiful display for all those photo cards you receive this year.  

This is also a great way to display vintage holiday family photos.
Chanukah 1959
You can also embellish the frame with holiday decor.  I added cinnamon sticks and twine to the top of my frame.  Then I stamped burlap card stock and hung "Happy Holidays" across the frame.


From my family to yours, 
we wish you a very happy holiday season,
 and look forward to great DIY inspiration in 2015!
Photo card ordered from Snapfish


Friday, December 19, 2014

Repurposed Desk into Beverage Station


Repurposed furniture

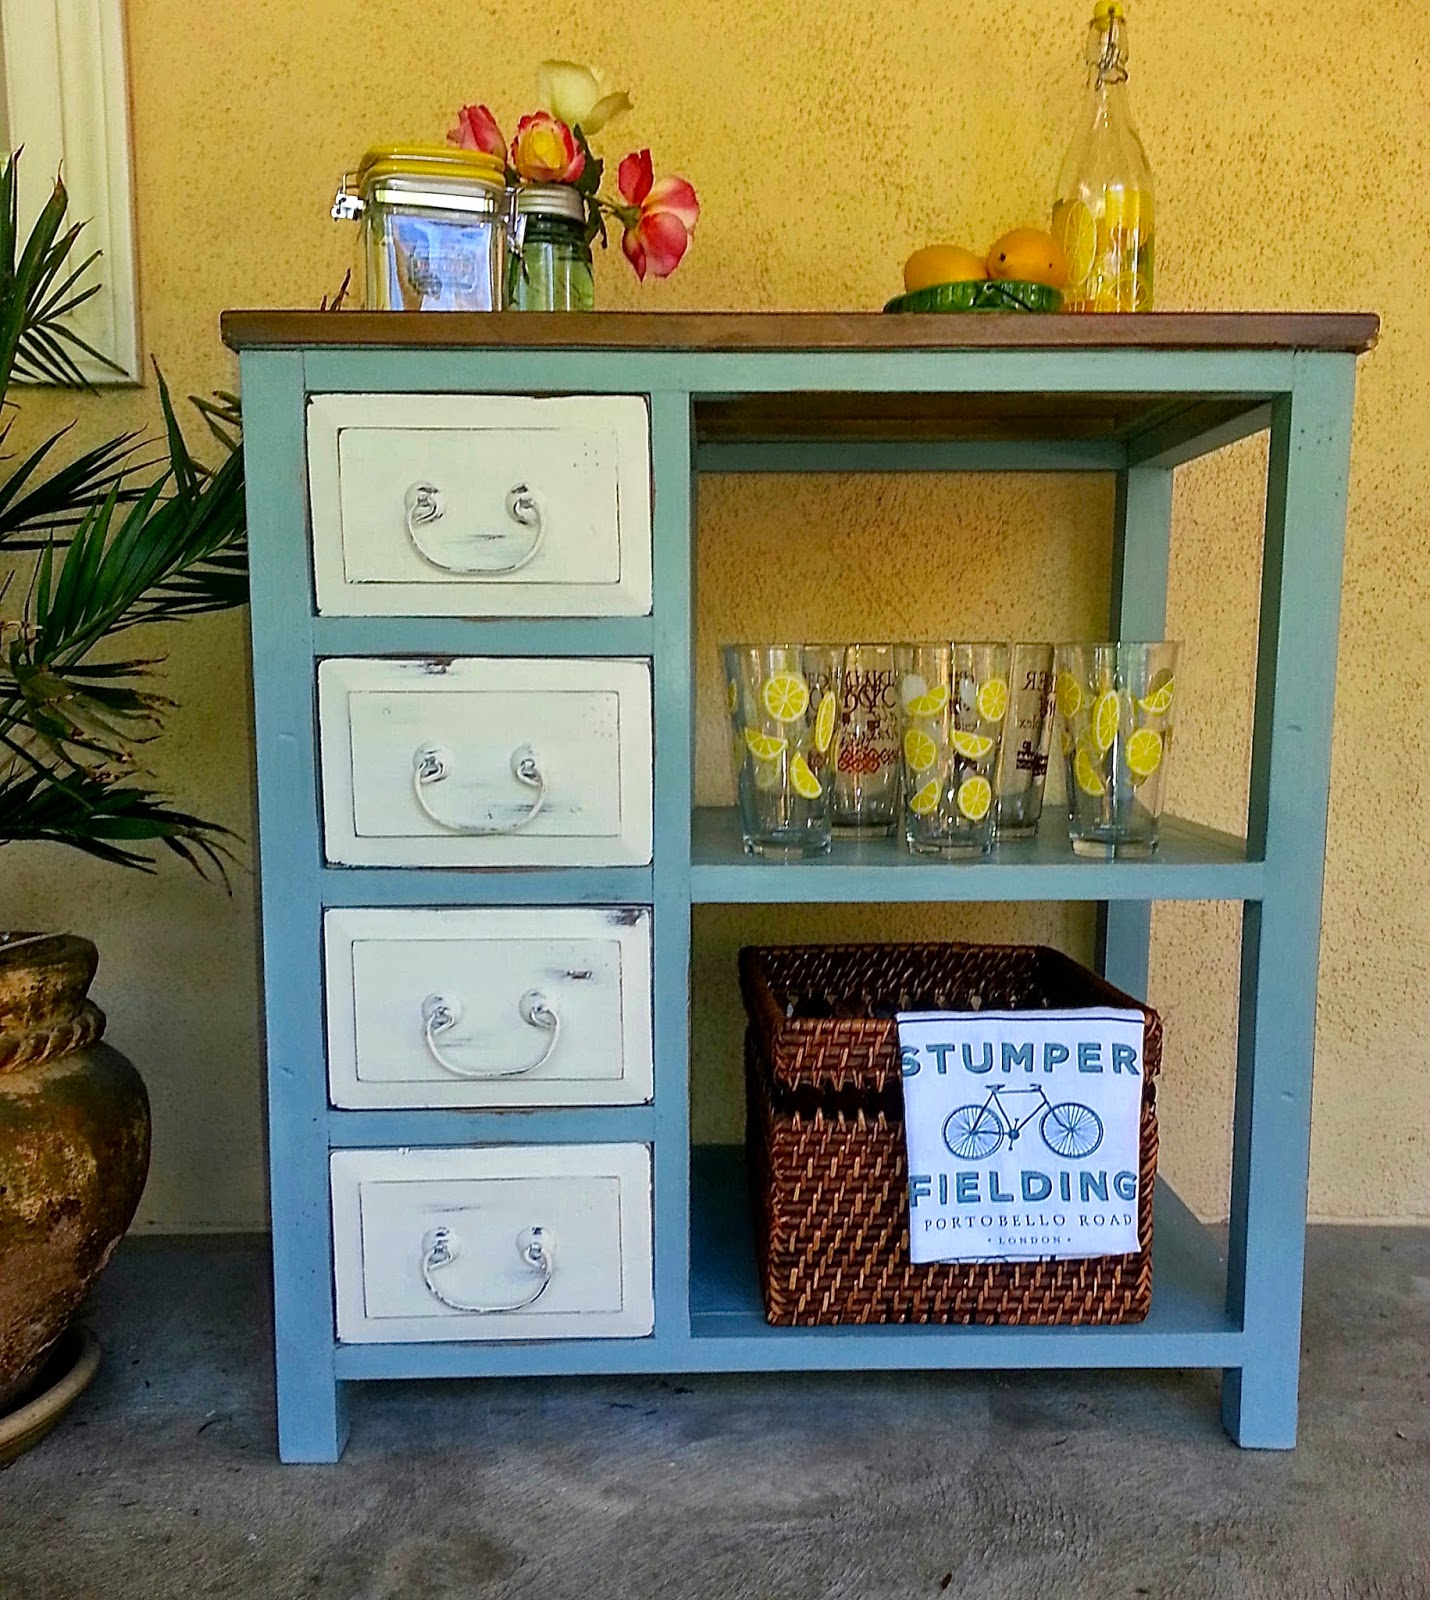
I bought a vintage furniture piece last year at the local flea market.  I'm not sure if it was a desk, table, bookcase or credenza.  All I know is that it had great bones, four deep drawers and two shelves.  It just needed a vision and some paint.

After a good cleaning, I decided on a nice shade of duck egg blue.  I used two coats of chalk paint which covered the wood well.   I painted the drawers a soft white [also chalk paint] to contrast with the blue.

The handles were impossible to remove, so I just painted them as well.

When the paint dried, I lightly distressed the entire piece using sandpaper.  I stained the top veneer matching the current wood tone, then I waxed the entire desk.

Earlier that day, I picked lemons from our citrus tree, which gave me a great re-purposing idea for this piece.  With a few accessories, I turned it into a beautiful lemonade serving center.


Ready for a refreshing glass of lemonade?

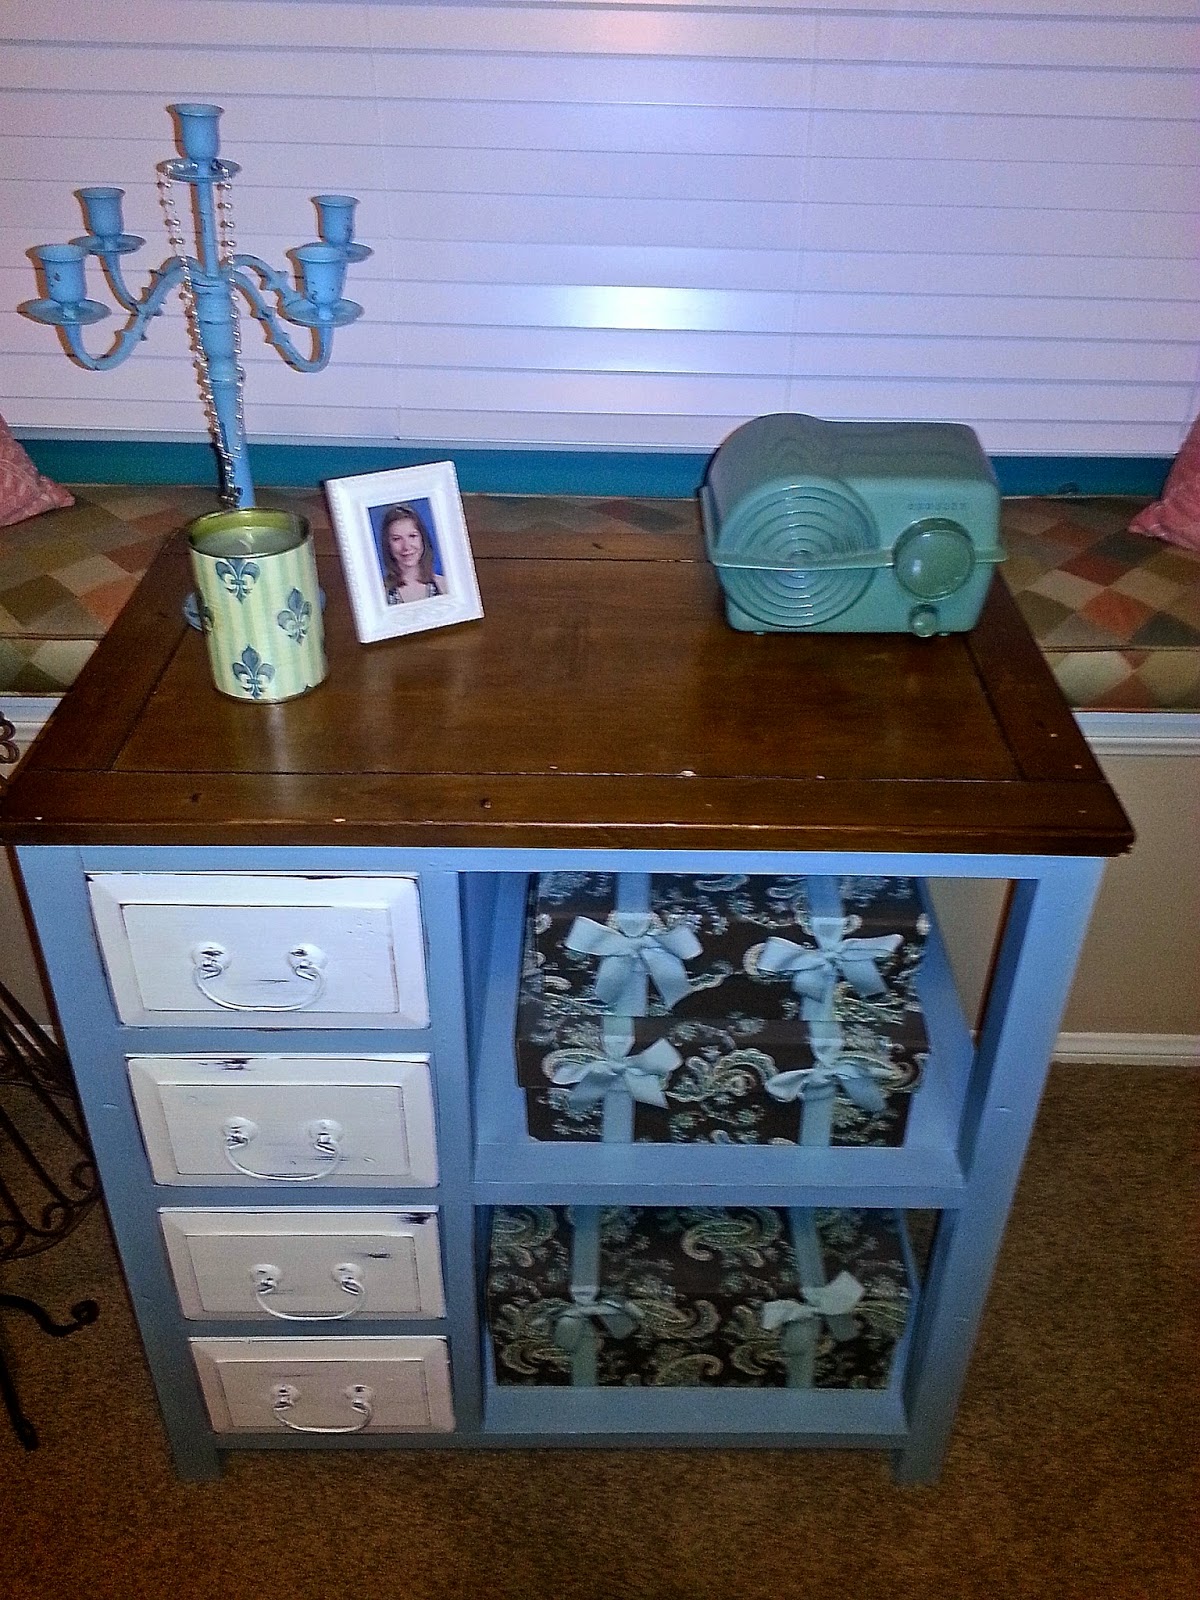
And to show its multi-purpose, I re-dressed the serving center for use in our daughter's bedroom.  Found some coordinating storage boxes in the closet, which fit perfectly on the shelves.  This is a great place to store sewing or school supplies, beauty accessories & more.


For now, I'll stick with the lemonade.  
Even though it's December, the sun is out, and it's getting [almost] warm.  
That's life in Southern California.
However, once the sun goes down, 
this will most likely become a hot cocoa station!
Now where did I put the marshmallows?
Stay Warm!

Missed a post?  Check these out:
pretty fonts

  painted furniture   

 Organizing Crafts

I've been featured!

Feature party button for Prodigal Pieces


Wednesday, December 3, 2014

Festive Handmade Holiday Gifts

It's finally raining here in Southern California.  The heavy mist almost looks like snow!  It's as close to a white flurry as we get.   Time to fire up the logs in the fireplace, stay in our pajamas all day, sip hot cocoa, and...craft! 

Handmade holiday gifts are the best, especially those that are quick to make, inexpensive and say "Happy Holidays" in a special way. They are great for teachers, neighbors and other special people.

Today I'm going to show you how to embellish clear acrylic pails and turn them into festive holiday gifts for both Christmas and Chanukah (Hanukkah).  They can easily be adapted to any other holiday as well.

Supplies: 

Clear acrylic pails  [I found 4-1/2" pails in different colors] 
Small 2" acrylic pails 
Shredded, crinkly paper
Crafting embellishments
Holiday Treats [to fill the pails]


Christmas Pail Fillers:   Assorted holiday candies, coffee, gift card, candles and playing cards.


Embellishments:  Choose ribbons, stickers, buttons, tags, and a rubber stamp with a holiday greeting.

The How-To:  Embellish the outside of a large pail.  I adhered beaded ribbon around the top of the pail.   Line the bottom inside of the pail with shredded paper.

Stamp a festive greeting onto a tag and tie to pail with ribbons.
 
  
Cover lid with pretty paper and rhinestones. 

I recommend decoupaging the paper to the lid to resist tearing.

Add the Christmas items to the large pails.  Fill smaller pails with candies such as m&m's or jelly bellies.  You can find holiday assortments or mix and match several bags of solid m&m's.

Here is what you'll need to make the Chanukah gift pail:

Fillers:  Chocolate gelt, dreidels, candles and matches.

The How-To:  Stamp a festive greeting onto a tag and tie to pail with ribbons.

Adhere ribbon around the outside of the pail.  For this one, I used two different ribbons, one at the top and one at the bottom.  Add shredded paper to inside bottom of pail; top lid with pretty paper or a sparkly bow.

Add contents to pail.

These pails are so versatile.  They make great table favors.  You can dress them up for many occasions including New Year's, the Super Bowl, Birthdays and Anniversaries.  You're just limited by your imagination and occasion!  
Handmade Holiday Treats

You may be able to find me sharing these ideas here 
as well as these new link parties:


Tuesday, December 2, 2014

Hanukkah, Oh Chanukah

Any which way you spell it, the Festival of Lights will be here before you know it.  This year, Chanukah begins Tuesday evening, December 16.  It's just two weeks away, but you have plenty of time to create unique Chanukah decor and gifts.

Handmade Hanukkah Gifts

One of my favorite projects is this "Chanukah-in-a-Jar."  There are many variations of recipes in a jar for delicious cookies, soups, natural scrubs, and more.  In fact, I've even altered tennis ball cans for brownies-in-a-tennis-ball-can recipes. 

For this project, I use a clear plastic pail that is 6" tall with a 4" diameter.  It has a lid as well as a handle, which lends itself nicely for attaching ribbons and tags.


Start by gathering craft supplies to embellish the container.  Include printed and solid scrapbook or gift wrapping paper, ribbon, punches, stamps, ink, tags, charms, metal labels, etc.
 

Chanukah decor


At this point, embellish the pail.  This is what I did.  Cut a strip of cardstock 2" x 18".  If using a 12" x 12" piece of paper, you will have to cut two pieces and tape them together.  Then cut a coordinating piece of your printed or gift wrap paper  to 1-1/2" x 18"  Using a dry adhesive, tape these two long pieces together.  Adhere ribbon to center of strip.

Using a 2-1/2" circle punch, cut a circle with glitter paper.  Punch out two smaller circles (I used a scalloped punch, too) from the solid cardstock.  Stamp image on smaller circle.

Adhere long strips to pail.  Then adhere the circles to the pail, covering up the seams.  (This then becomes the front of the pail.)
Chanukah crafts

Using varied textures and widths, cut 6" strands of coordinating ribbon to pail handle.  Cover the inset of the lid with paper using decoupage sealer.  When dry, adhere label printed on cardstock and metal label holder to lid.  Tie charm to metal holder.
Hanukkah-in-a-Jar craft

Stamp "Happy Hanukkah" and "To/From" images to tags.

stamped holiday tags

You can find wooden dreidels at most party stores or in the Chanukah section of your local large discount store this time of year.  Decoupage top of the dreidel, using 1-1/4" square punch.  Punch a small hole in center of the paper square, which will fit over the dreidel stem.
playing dreidel

Then choose the "ingredients" for your jar.  I suggest an entire box of 44 menorah candles (enough candles for each night), the large dreidel, a small box of matches, chocolate gelt and candle blessings. 

For the blessings, I printed the Hebrew, transliteration and translation on both sides of a 4" x 6" cardstock, rolled it up and tied it with blue & white twine.
Chanukah gelt
 The match box is embellished with cardstock and a stamped image that reads "Happy Hanukkah".

Arrange the candles and other "ingredients" inside the pail. 

That's it!  Here is the completed Chanukah-in-a-Jar:
Handmade Hanukkah GiftPin It

If you would like a copy of the blessings document, leave a comment with your email, and I will be glad to send you a copy.

These Chanukah-in-a-Jar make great gifts for children, grandchildren, teachers and hostess gifts.

You may also like these holiday projects:
hanukkah crafts

Hanukkah coaster and tray decor

Linking up here
and


Related Posts Plugin for WordPress, Blogger...